The following table shows the steps to implement a CuteEditor Control into DotNetNuke 2.0 application.
|
Step 1 : Add a reference to CuteEditor and
deploy license file
First, launch Visual Studio .NET and open DotNetNuke project. Delete the reference to Freetextbox assembly and add the reference to CuteEditor.
Copy the CuteEditor.lic file to the \bin directory for the web application that uses the CuteEditor.
|
|

|
|
|
Step 2: Edit the user Controls
To get you started as quickly and easily as possible. we created a template moduls.
You can download here.
Extract the zip file into the DesktopModules and Admin/users folder ( make sure to have the Overwrite Existing ).
|
|

|
|
|
Step 3: Deploying the cuteEditor Client files
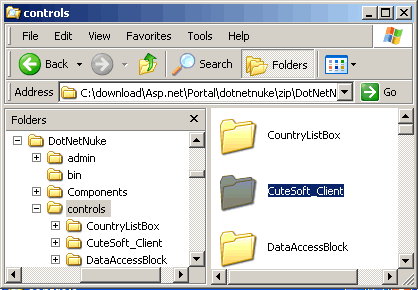
The "CuteEditor_files" folder and all file it contains (you can find in the download package) should be deployed to http://{your site}/{your application}/controls/CuteEditor_files/ on your web site. |
|
 |
asp.net Chat http://cutesoft.net/ASP.NET+Chat/default.aspx
Web Messenger: http://cutesoft.net/Web-Messenger/default.aspx
asp.net wysiwyg editor: http://cutesoft.net/ASP.NET+WYSIWYG+Editor/default.aspx
asp wysiwyg html editor: http://cutesoft.net/ASP
asp.net Image Gallery: http://cutesoft.net/ASP.NET+Image+Gallery/default.aspx
Live Support: http://cutesoft.net/live-support/default.aspx