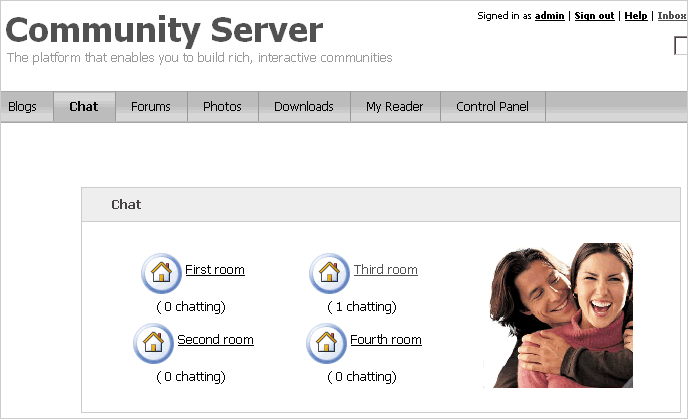
The following guide shows the steps to implement a Cute Chat and Cute messenger
into Community Server 2.0 application. If you haven't downloaded the software, please
download the software copy from here.
1. Unzip the zip file and copy CuteChat client files
The following files/folder should be deployed to the root of your Community Server installation.
- CuteSoft_Client
- RedirectForumToChat.aspx
- global.asax
Skin-ForumLinkBar.ascx should be deployed to \Themes\default\Skins directory of your Community Server installation.

2. Deploying the CuteChat.dll assembly and license file
The following files should be deployed to \bin directory of your Community Server installation.
- CuteChat.dll
- CuteChat.AppCode.dll
- cutechat.lic
- CuteMessenger.lic

3. Execute SQLScripts\CuteChat4.sql against database
- Open your SQL Server Query Analyzer from within Enterprise Manager.
- Once you have successfully connected to your SQL Server within query analyzer, open and execute the Chat SQL file(SQLScripts\CuteChat4.sql) against your Community Server database.
4. Add Chat rooms to community Server
You have two options to add Chat rooms to your community Server. Skip this step if you want to install web messenger only.
Option A: Adding a chat column into your forum list.
If you prefer this solution, please copy View-ForumGroupView.ascx to \Themes\default\Skins directory of your Community Server installation.

Option B: Adding a chat tab into your CS top navigation bar.
1. Copy chat.aspx to the root of your Community Server installation.
2. Open SiteUrls.config file, find "navigation" section and add the following entry behind home tab:
<link name="Chat" navigateUrl="/Chat.aspx" text="Chat" />
